Is your bathroom sink faucet outdated, leaky, or not functional anymore? Removing and replacing an old faucet might seem like a daunting task, but it’s simpler than you think. With the right tools and guidance, this DIY project can be completed in just a few hours, even if you’re a beginner. In this guide, we’ll walk you through the step-by-step process of removing an old bathroom sink faucet and installing a new one. From gathering tools to testing for leaks, we’ll cover everything you need to know to make your DIY journey as smooth as possible.
Table of Contents
What Tools and Materials Do You Need for Faucet Removal?
Before you begin removing your old bathroom sink faucet, it’s important to gather the necessary tools. Being prepared will save you time and frustration, making the job much more efficient. Having the right tools ensures that you can safely and efficiently remove the faucet without causing damage.
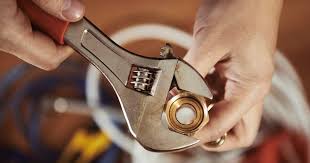
Adjustable Wrench: Perfect for loosening the nuts that connect the water supply lines to the faucet.
Basin Wrench: Specifically designed to reach those hard-to-access nuts under the sink that keep the faucet in place.
Pliers: Helpful for gripping and loosening parts that are particularly tight or stuck.
Screwdriver: Some faucet designs have screws that hold parts in place, and a screwdriver will be needed to remove these.
Bucket or Towels: Useful for catching any water that spills when you disconnect the water supply lines.
Cleaning Solution: A mild cleaner can help remove rust or hard water deposits around the faucet holes, leaving the area clean for the next step.
Plumber’s Tape: Essential for ensuring a watertight seal on new connections during the reinstallation process.
Once you have all these tools ready, you’ll be well-prepared to move forward with the faucet removal process.
What are the basic steps involved in removing an old bathroom sink faucet?
By following these basic steps, you can refresh your bathroom’s functionality and style while saving money.
Step 1: Turn Off the Water Supply
Before removing the faucet, it’s crucial to turn off the water supply to avoid any unexpected water leaks. Locate the shutoff valves beneath the sink and turn them clockwise to stop the flow of water.
If your sink doesn’t have individual shutoff valves, turn off the main water supply to your home. Opening the faucet to drain any remaining water will help reduce spillage. Doing this step properly ensures that you won’t deal with water leaks while working on the faucet.
Taking a few minutes to turn off the water will save you from potential water damage and make the entire process safer and more manageable.
Step 2: Disconnect the Water Supply Lines
Once the water supply is turned off, place a bucket under the sink to catch any residual water. Use an adjustable wrench to loosen and disconnect the hot and cold water supply lines from the faucet.
Be prepared for a small amount of water to drain out as you remove these lines. It’s important to ensure the connections are fully detached without forcing anything, as this could damage the pipes.
Properly disconnecting the water supply lines clears the way for removing the faucet and makes the installation of the new one much simpler.
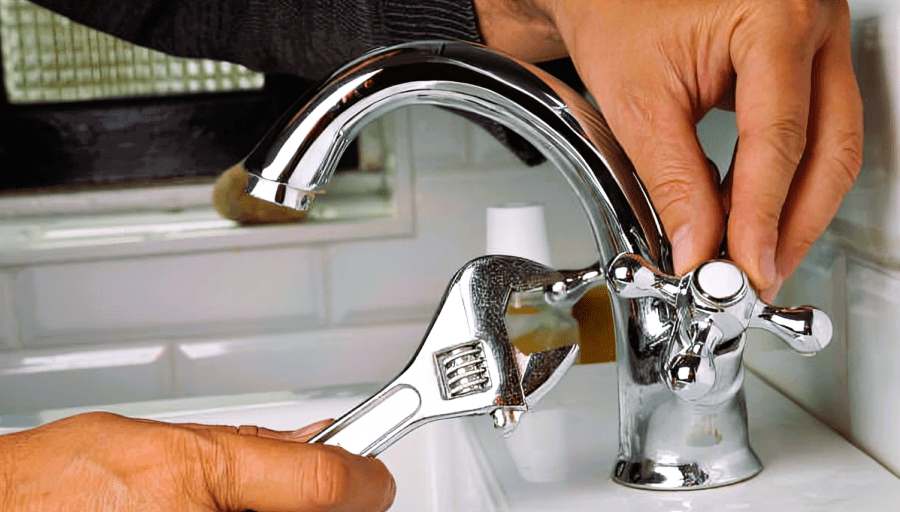
Step 3: Remove the Old Faucet
To remove the old faucet, locate the mounting nuts under the sink that hold the faucet in place. Use a basin wrench to loosen and remove these nuts.
If the nuts are corroded or stuck, apply some penetrating oil and let it sit for a few minutes before loosening again. Once the nuts are removed, gently lift the old faucet out from the sink.
Removing the old faucet carefully ensures that you won’t damage the sink or surrounding fixtures.
Step 4: Clean the Sink Area
With the old faucet removed, it’s important to clean the sink area thoroughly. Remove any old sealant, grime, or mineral deposits from around the faucet holes.
Cleaning the surface will ensure that the new faucet sits properly and securely. A clean surface also prevents leaks and ensures the longevity of the new installation.
Taking the time to clean ensures that your new faucet will function properly and look great.
Step 5: Install the New Faucet
Begin by placing the new faucet into the mounting holes and aligning it properly. From beneath the sink, attach the mounting nuts and tighten them securely. Use a basin wrench if you need to access hard-to-reach areas.
Next, reconnect the hot and cold water supply lines. Apply the plumber’s tape to the threads before tightening the connections to ensure there are no leaks.
Proper installation ensures that the new faucet functions correctly and stays securely in place for years to come.
Step 6: Test for Leaks and Functionality
Once everything is connected, turn the water supply back on by opening the shutoff valves. Slowly open the faucet to check if both hot and cold water are flowing.
Inspect the connections for any signs of leaks. If you notice any, tighten the connections further until the leaks stop.
Testing ensures that your new faucet works properly and prevents water damage in the future.
What are the common mistakes to avoid during faucet removal?
Common challenges to removing old bathroom sink faucet.
Dealing with Stuck or Rusted Nuts
Rusted or stuck nuts can make the removal process more difficult. Apply penetrating oil to the stuck nuts and let it sit for 10-15 minutes before attempting to loosen them again. If the nuts are still stuck, you may need to use pliers for extra leverage.
Faucet Won’t Budge? Tips for Loosening Difficult Fixtures
If the faucet refuses to come loose, try tapping around the base with a soft mallet to break any sealant or rust. Be gentle to avoid damaging the sink or surrounding fixtures.
What to Do If You Can’t Find the Shut-Off Valve
If you can’t locate the shut-off valves under the sink, you’ll need to turn off the main water supply to the house. This valve is usually located near where the water line enters the home.
FAQs
What Should I Do If My Faucet Is Leaking After Removal?
If water is still leaking after you’ve removed the faucet, make sure the shut-off valves are fully closed. If the valves are damaged, they may need to be replaced.
How Long Should This Job Take for a Beginner?
For a beginner, removing a faucet should take about 1-2 hours, depending on the condition of the old faucet and the accessibility of the nuts.
Should I Hire a Professional or Is This DIY-Friendly?
Removing a bathroom faucet is a DIY-friendly project for most homeowners. However, if you encounter serious plumbing issues or feel uncomfortable with the task, it’s always a good idea to consult a professional.
Is it worth replacing the faucet myself instead of hiring a plumber?
Yes, replacing the faucet yourself saves money and gives you the satisfaction of completing a DIY project while improving your bathroom’s appearance and functionality.