Modern faucet handles have hidden screws. To remove a bathroom sink faucet handle without screws, check for a hidden cap covering a screw and pry it off with a flathead screwdriver. If no screw is visible, the handle may be friction-fit. Firmly pull and wiggle it to loosen its grip. If stuck, apply WD-40 or use a hairdryer to expand the metal. A faucet handle puller can help with stubborn handles.
Tools and Materials Needed
Here are the tools and material for removing a bathroom sink faucet handle without screws.
- Flathead screwdriver
- Allen wrench (if applicable)
- Flashlight
- Vinegar or WD-40 (penetrating lubricant)
- Hairdryer
- Rubber mallet
- Faucet handle puller tool
- Soft cloth (to prevent scratches)
1. Check Hidden Screws or Caps on the Faucet Handle
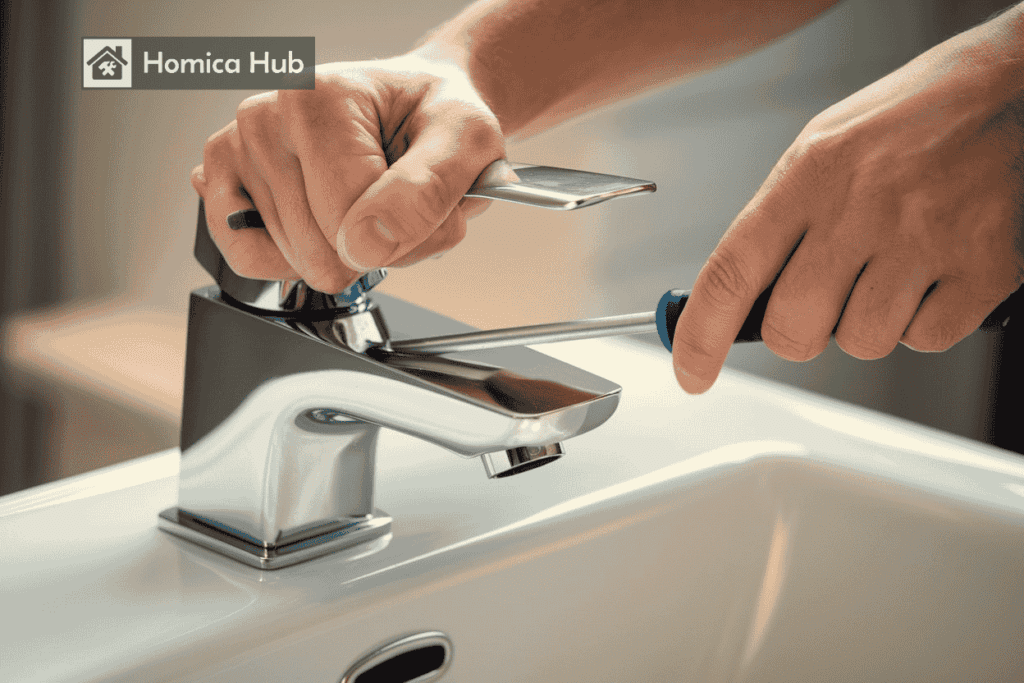
Inspect the handle for a hidden screw to remove the faucet handle. Examine it closely to determine how it is attached. Many modern faucets are designed with hidden screws or caps to create a sleek appearance. Check the top or sides of the handle for a small, round cap. Use a flathead screwdriver to pry it off gently if you find one. Be careful not to scratch the surface of the handle or faucet while doing this. Underneath the cap, there may be a set screw securing the handle in place.
Inspect the area beneath the handle or around its base if no cap is visible. Some faucet models have a tiny opening where a hidden set screw is located. A flashlight can help you see small details more clearly. If you find a screw, you will need an Allen wrench or screwdriver to loosen it. Turn the screw counterclockwise until it is loose enough to allow the handle to slide off easily. However, if there is no screw or cap, the handle is likely a friction-fit type. This means that it is held in place by pressure rather than fasteners.
2. How to Remove a Friction-Fit Faucet Handle
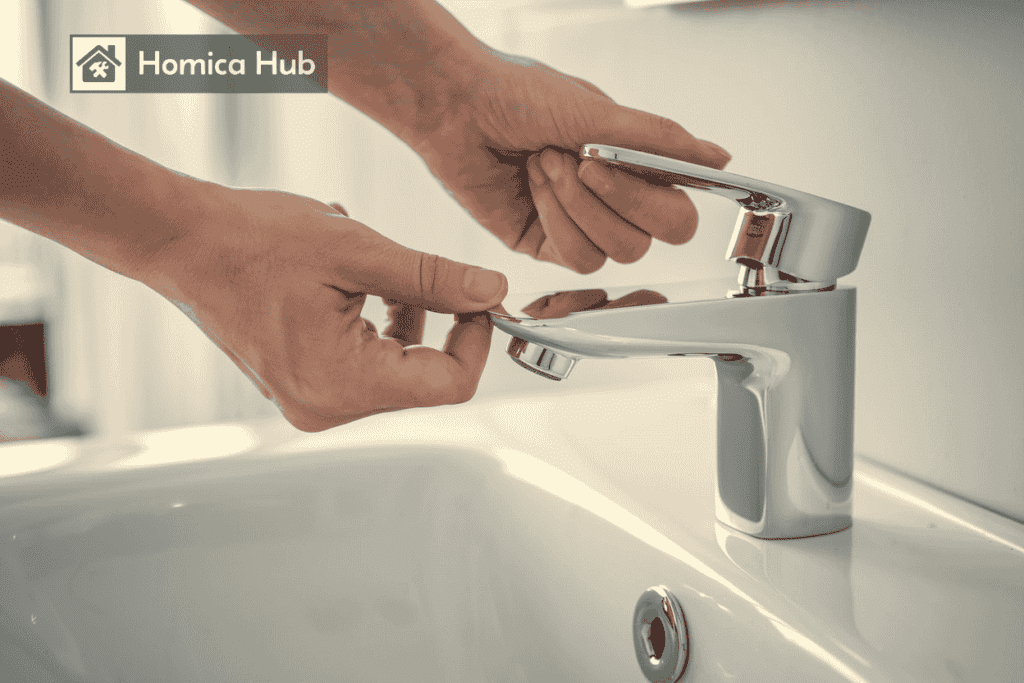
Some bathroom sink handles have friction-fit handles. This type of handle is designed to fit tightly over the faucet stem without additional fasteners. To remove it, start by gripping the handle firmly with both hands. Try pulling it straight up or outward, depending on the design of your faucet. If the handle does not come off quickly, wiggle it gently from side to side to help loosen it.
In some cases, mineral buildup or rust may cause the handle to stick. If the handle resists movement, apply a few drops of vinegar or a penetrating lubricant, such as WD-40, around the base of the handle. Let it sit for about ten minutes to break down any deposits holding it in place. After ten minutes, try pulling the handle again. If the handle is still stuck, avoid using excessive force, which can damage the faucet. Apply steady pressure to remove it.
3. How to Loosen a Stuck Faucet Handle Without Damage
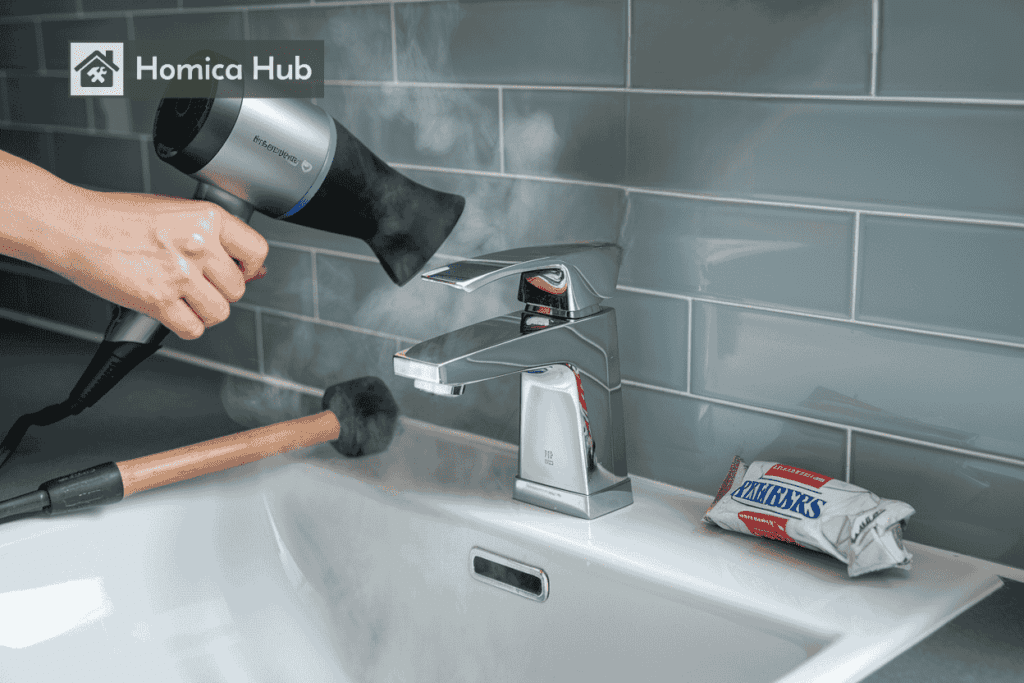
Use a hairdryer set to a moderate temperature and direct the warm air around the base of the handle for about 30 seconds to loosen a stuck handle. This heat will cause the metal to expand slightly, making it easier to loosen the handle. If the handle is still stuck, use a rubber mallet, then tap the handle gently while pulling it outward. However, be careful not to hit the faucet too hard, which could cause damage.
If the handle is still stuck, it may be necessary to use a specialized handle puller tool. Puller tools help to remove stubborn handles without causing damage to the fixture.
"For complex installations or handles resistant to removal techniques, consult a licensed plumber to ensure safe disassembly and avoid accidental damage to your faucet or plumbing system."
Related Posts
How to Replace a Shower Faucet Handle: 5 simple Steps
FAQs
1. How to remove handles from a bathroom faucet?
To remove a bathroom faucet handle, check for a hidden screw or cap securing it. If there isn’t one, grip the handle, wiggle it gently, and pull it upward to detach it.
2. How to remove a tap handle without a screw or Allen key?
If the tap handle has no screw or Allen key, it is likely a friction-fit type. Hold it firmly, wiggle it side to side, and pull it upward with steady pressure.
3. How can I remove a Delta faucet handle that has no set screw?
To remove a Delta faucet handle without a set screw, try pulling it straight up while gently twisting. If it is stuck, apply lubricant or heat to loosen any buildup before trying again.
4. How do you remove a faucet screen that doesn’t unscrew?
If a faucet screen doesn’t unscrew, soak it in vinegar to dissolve mineral deposits. If it remains stuck, use pliers with a cloth to grip it and twist gently to avoid damage.


[…] the right bathtub for your bathroom remodel can be overwhelming, with so many choices. One key thing to think about is the length of […]
[…] can be frustrating to turn on the water in your bathroom sink and notice a bad smell. This problem is common and usually means there’s an issue with your […]