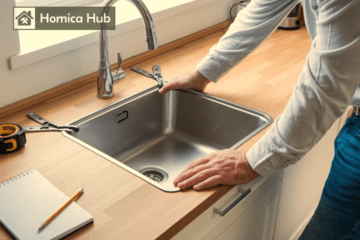
A loose kitchen sink faucet can disrupt your daily routine, so learning how to tighten a kitchen sink faucet is essential to prevent leaks, instability, and unnecessary frustration. Ignoring the issue can result in additional problems, such as wasted water, rust formation, and potentially costly repairs. Tightening a kitchen sink faucet is a simple DIY task that can save your time, money, and the hassle of hiring a professional. Following this comprehensive step-by-step guide can quickly restore your faucet’s stability and functionality. Each step is designed to ensure success, from identifying the problem to testing the repair. If you find any step unclear, we have provided a video tutorial at the end of this blog post to guide you visually.
Table of Contents
What Tools Do You Need to Tighten a Kitchen Sink Faucet?
Having the right tools makes all the difference in simplifying any DIY task. Here’s a list of essential tools you’ll need to tighten a loose kitchen faucet:
- Adjustable Wrench: Ideal for tightening the mounting nut under the sink.
- Screwdriver: Useful for securing screws around the faucet.
- Basin Wrench: A must-have for accessing tight, hard-to-reach areas.
- Flashlight: Helps you see clearly under the sink where light is often limited.
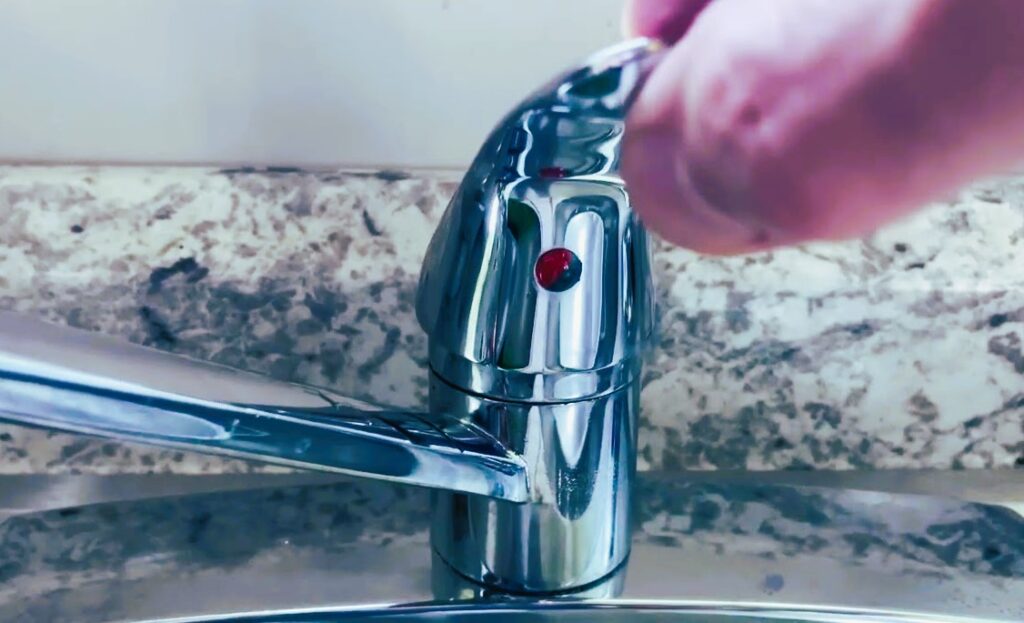
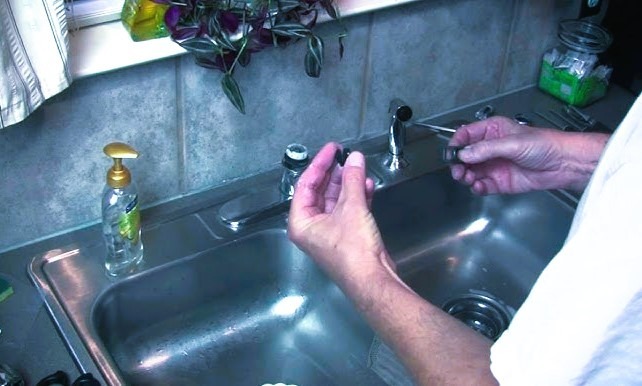
Step 1: Identify the Loose Area
Start by thoroughly assessing the problem to pinpoint the root cause of the looseness. Gently move the faucet to see if it wobbles at the base, handles, or spout. These movements can indicate instability in different areas. Most commonly, the issue stems from a loose mounting nut underneath the sink.
Use a flashlight to closely inspect the faucet base and the connections under the sink. If the faucet has been loose for a long time, additional issues, such as stripped threads or damaged components, may also be present.
Step 2: Turn Off the Water Supply
Shutting off the water supply is critical in ensuring a safe and clean repair process. Locate the water shut-off valves under the sink. Typically, there will be two valves: one for hot water and another for cold.
Turn both valves clockwise until they are fully closed. If you’re unsure whether the water is off, test the faucet by turning it on. Allow any remaining water to drain completely, leaving a dry and secure workspace. This precaution prevents accidental leaks or flooding during the repair.
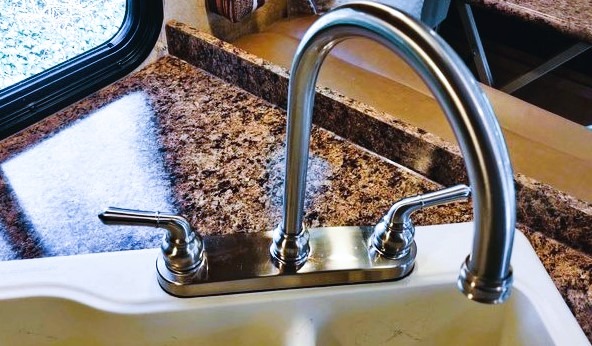
Step 3: Locate and Tighten the Mounting Nut
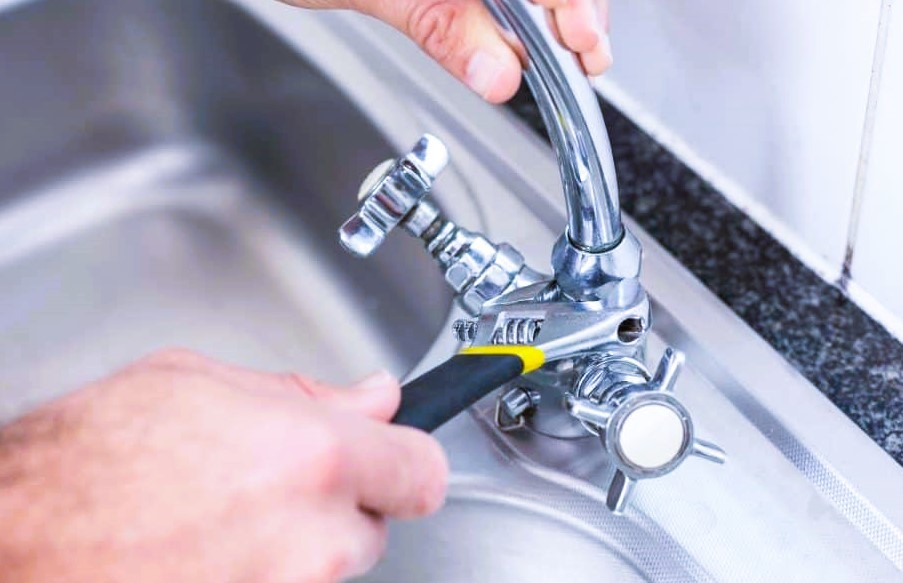
The mounting nut is often the culprit behind a loose faucet. It is located underneath the sink, securing the faucet to the countertop.
Steps to Tighten:
- Select the Right Tool: A basin wrench is highly recommended for this task due to its long handle and pivoting head, perfect for tight spaces. An adjustable wrench can be used if unavailable, although it might be less convenient in cramped areas.
- Secure the Wrench: Position the wrench securely around the mounting nut. Ensure a firm grip to avoid slippage.
- Tighten the Nut: Turn the wrench handle clockwise to tighten. Apply consistent, steady pressure to prevent damaging the threads or overtightening.
If the nut is stuck due to corrosion, spray a penetrating lubricant like WD-40 and let it sit for a few minutes. Be patient—forcing the nut can lead to further complications. For extremely stubborn nuts, consider using a pair of pliers alongside the wrench for added torque.
Step 4: Address Hard-to-Reach Areas
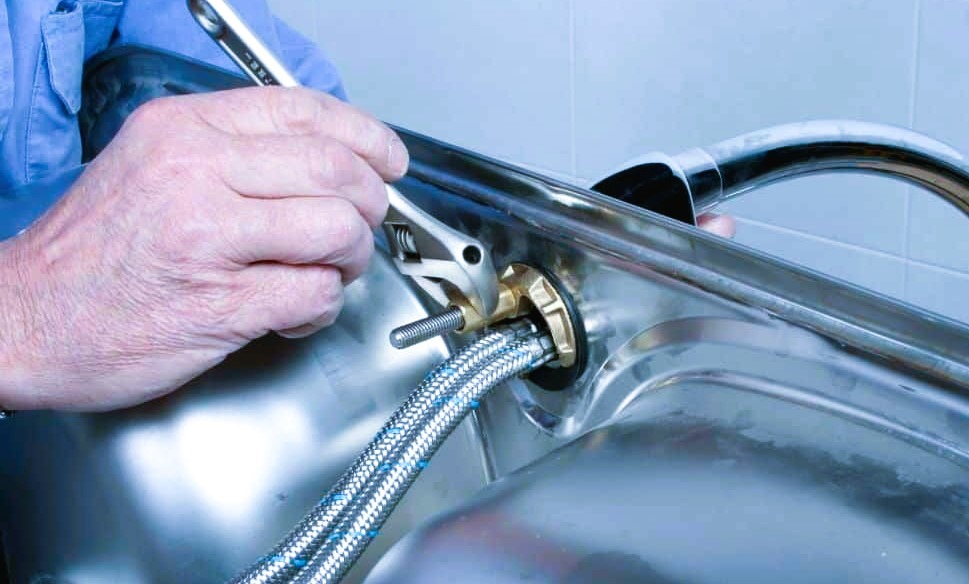
In cases where the mounting nut is located in a tight or awkward spot, use specialized tools and techniques to reach it. A basin wrench is indispensable for navigating these challenging angles.
Procedure:
- Adjust the Basin Wrench: Ensure its jaws fit snugly around the nut.
- Position Carefully: Align the wrench handle for maximum leverage without straining.
- Apply Pressure Gradually: Rotate the handle clockwise to tighten, ensuring you don’t slip or damage the nut.
Step 5: Test the Faucet
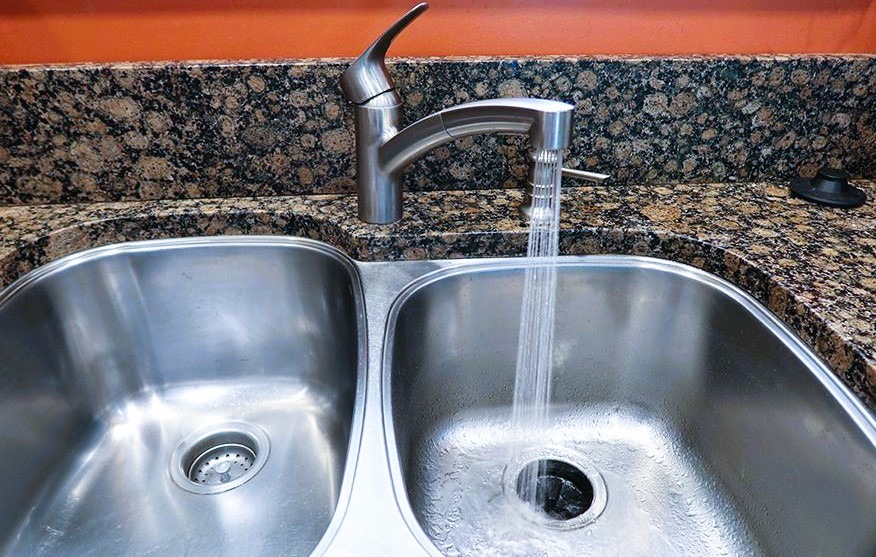
Once all loose components are tightened, testing your work is essential. Turn the water supply valves back on by rotating them counterclockwise. Slowly run water through the faucet and carefully inspect its performance.
- Check for Leaks: Examine the base of the faucet and the connections under the sink for any signs of water seeping out.
- Test Stability: Lightly move the faucet to ensure it remains stable and no longer wobbles.
If any issues persist, revisit the previous steps to make additional adjustments. Ensuring proper functionality now can save time and prevent future problems.
Step 6: Replace Worn or Damaged Parts
If tightening alone does not resolve the issue, inspect the faucet’s components for wear and tear. Over time, washers, O-rings, and the mounting nut can degrade, leading to leaks and instability.
Replacement Tips:
- Identify Problematic Parts: Look for flattened washers, cracked O-rings, or corroded mounting nuts.
- Choose Quality Replacements: Purchase replacement parts that match your faucet model for a precise fit.
- Follow Manufacturer Instructions: Carefully install the new components according to the guidelines to ensure optimal performance.
FAQS
Why is my kitchen sink faucet loose?
A kitchen sink faucet may become loose due to daily usage, which causes the mounting nut or screws securing it to loosen over time. Vibrations, mineral deposits, or worn-out washers can also contribute to instability.
What should I do if the mounting nut is hard to reach?
Use a basin wrench if the mounting nut is in a difficult-to-reach spot. This tool is designed to access and tighten hardware in confined spaces under sinks.
What causes water leaks around the faucet base after tightening?
Leaks around the base could be due to worn-out washers or O-rings. If tightening doesn’t resolve the leak, replace these components to restore a proper seal.
Is it safe to use lubricants like WD-40 on stuck mounting nuts?
Yes, applying a small amount of lubricant, such as WD-40, can help loosen corroded or stuck mounting nuts. Allow the lubricant to sit briefly before tightening or removing the nut.